9 Taunton Stop Line

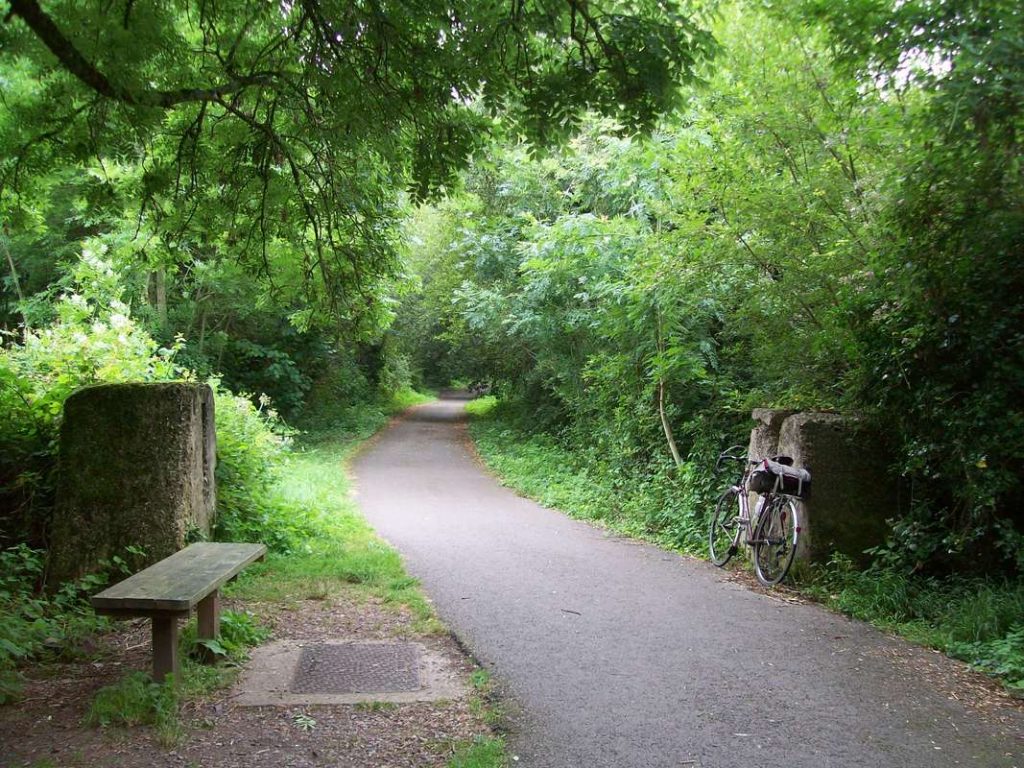
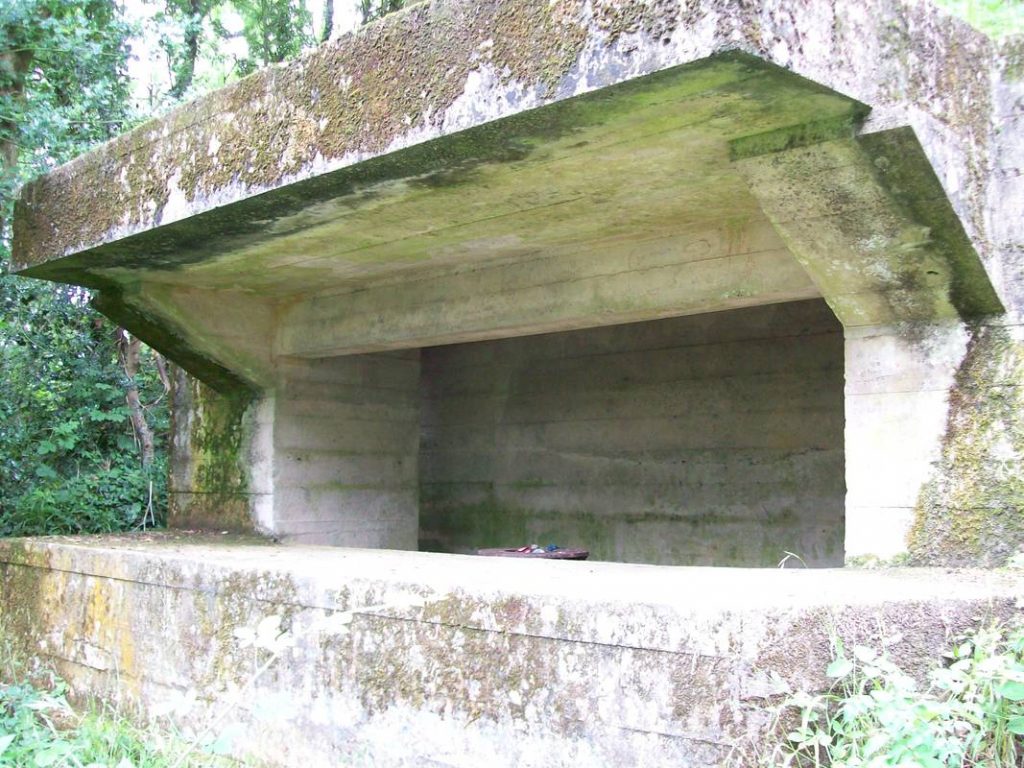
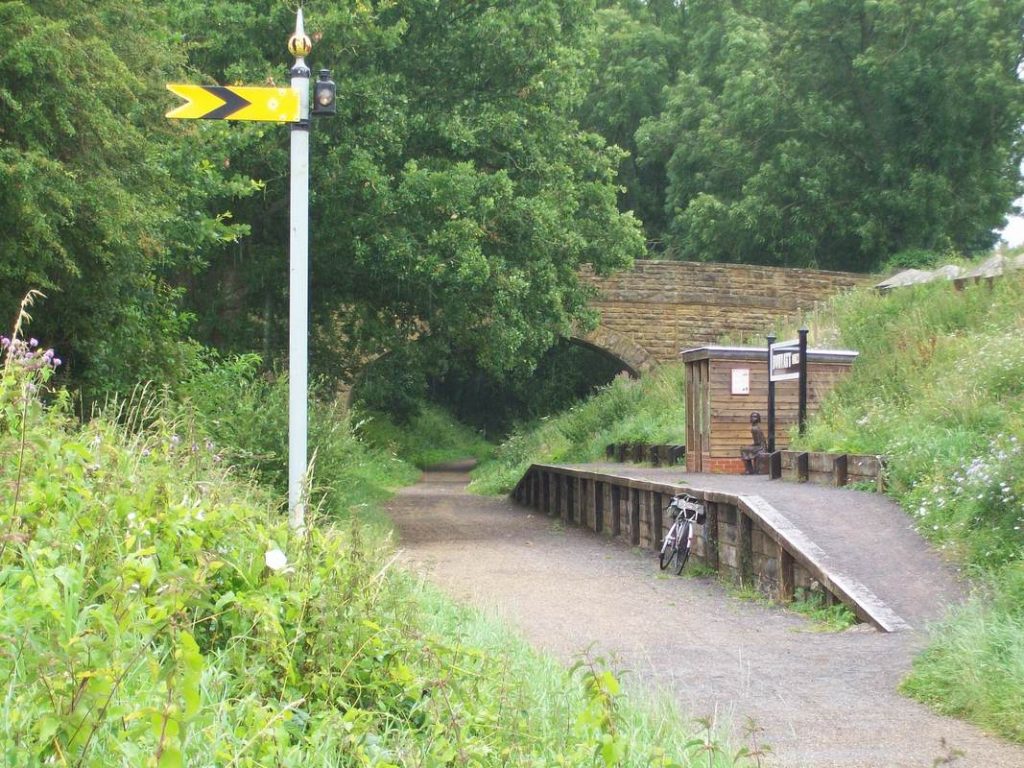
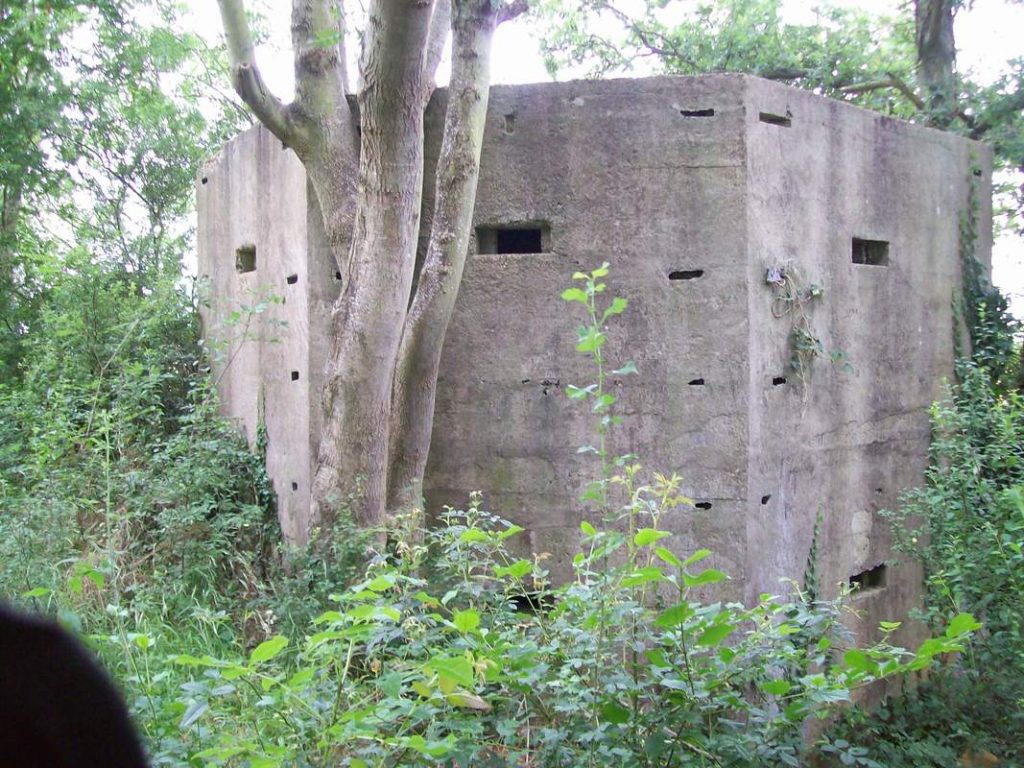
The scout dug out some photographs he’d taken in 2012 while following the Chard Branch. These included shots of the World War II fortifications which were part of a defensive line across the peninsula.

The tank trap between Chard Central and Ilminster. The pillar the scout had glimpsed beside the line outside Axminster was very like these. The slots can be seen into to which a beam or rails would have been inserted when the balloon went up.
A line of concrete obstructions is seen at left.
The gun emplacement tucked into the approach embankment of Knowles Lane where it passes over the branch between Chard and Ilminster.
Part of the line of anti-tank obstacles at Donyatt Halt can be seen at top right.
On Donyatt platform, the scout thought that the sculptor had captured this evacuee’s innocence and fear perfectly, with her suitcase and gas mask.
Railways moved 1.3 million evacuees in the first four days of September, 1939.
The two-storey pillbox at Ilton Halt.
Signs on the gate warned those entering the concrete works on the site of Hatch Station. A fellow in the office permitted the scout to take this photograph of the building which is also Grade II-listed by Historic England.
The Taunton end of the 152-yard Hatch Tunnel. It was built for a double line but only ever used by a single broad, then standard gauge, line.
This entry was posted in Uncategorised. Bookmark the permalink.